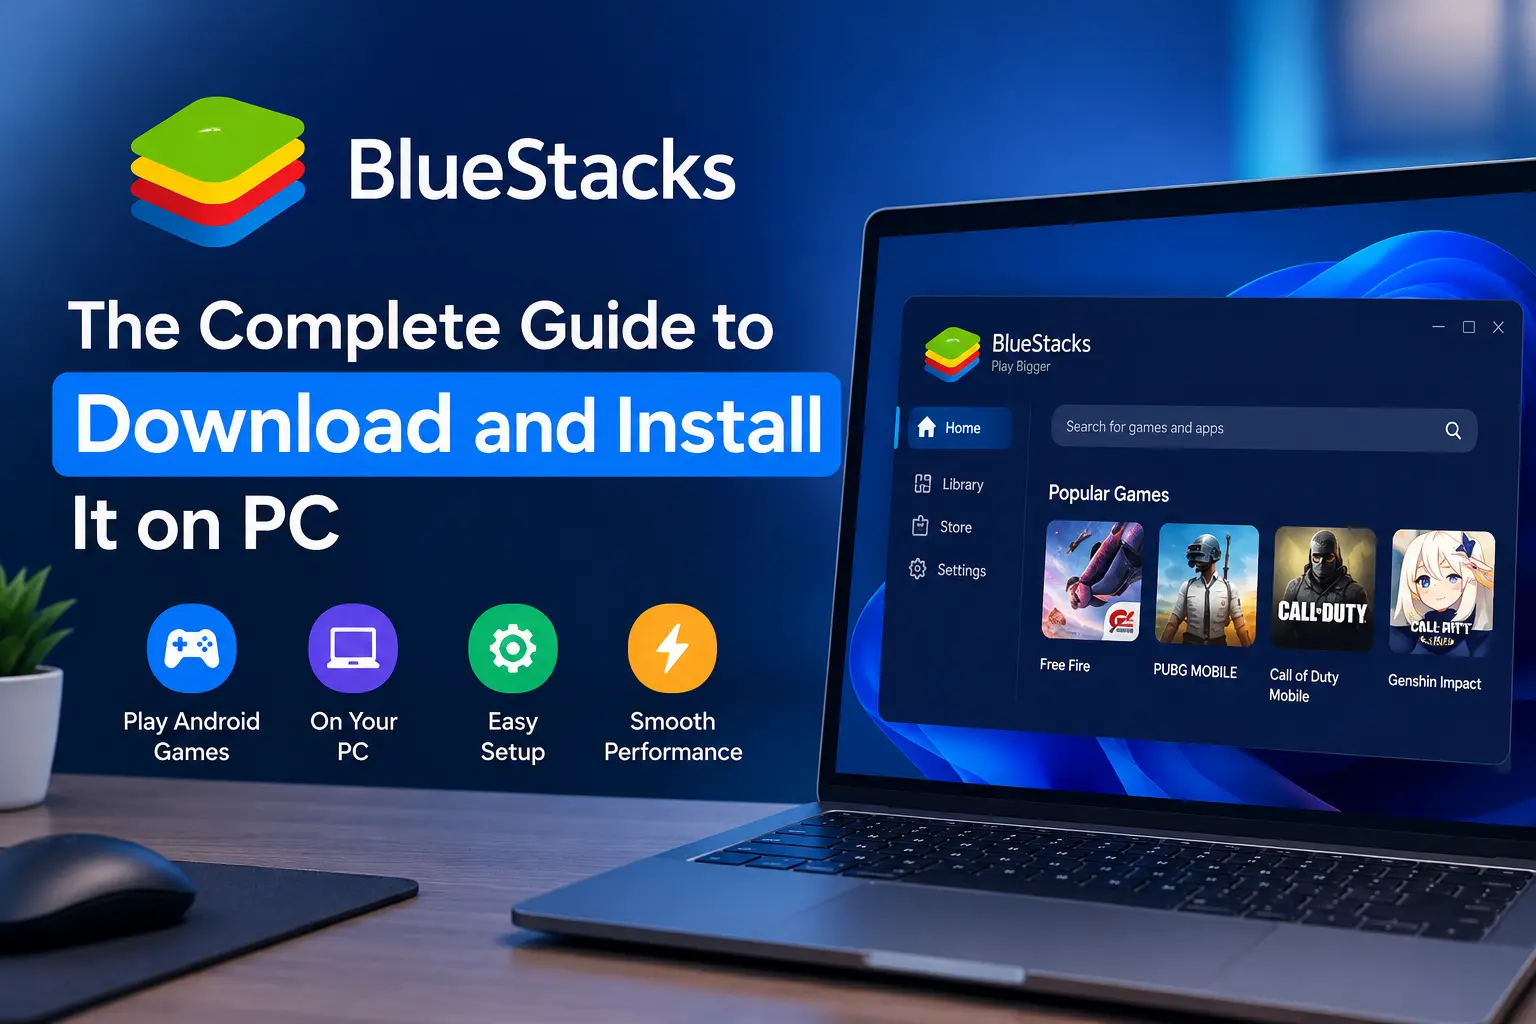
If you've ever wanted to play a mobile game on a bigger screen, or you're testing an Android app and don't want to reach for your phone every time, BlueStacks is probably the first name you've come across. It's one of the oldest and most widely used Android emulators for Windows, and for good reason — it's stable, it's been refined over more than a decade, and it doesn't require any technical background to get running.
This guide walks through exactly what BlueStacks does, what your PC needs to run it comfortably, and how to get it installed and working without the usual trial and error.
What Is BlueStacks, Exactly?
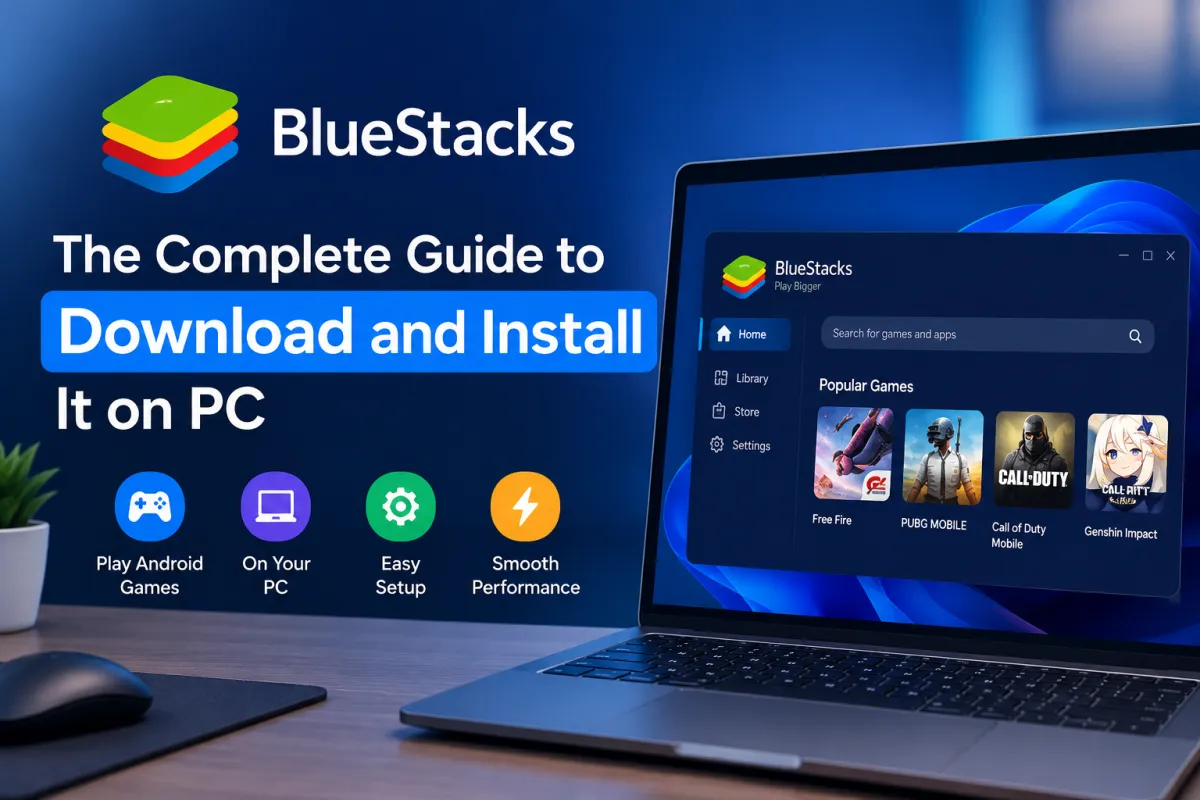
BlueStacks is an Android emulator — software that creates a virtual Android environment on your Windows or Mac computer. Once it's installed, you sign in with a Google account, open the built-in Play Store, and install apps and games exactly as you would on a phone. The difference is you're now playing on a full-size monitor, with a mouse and keyboard instead of a touchscreen.
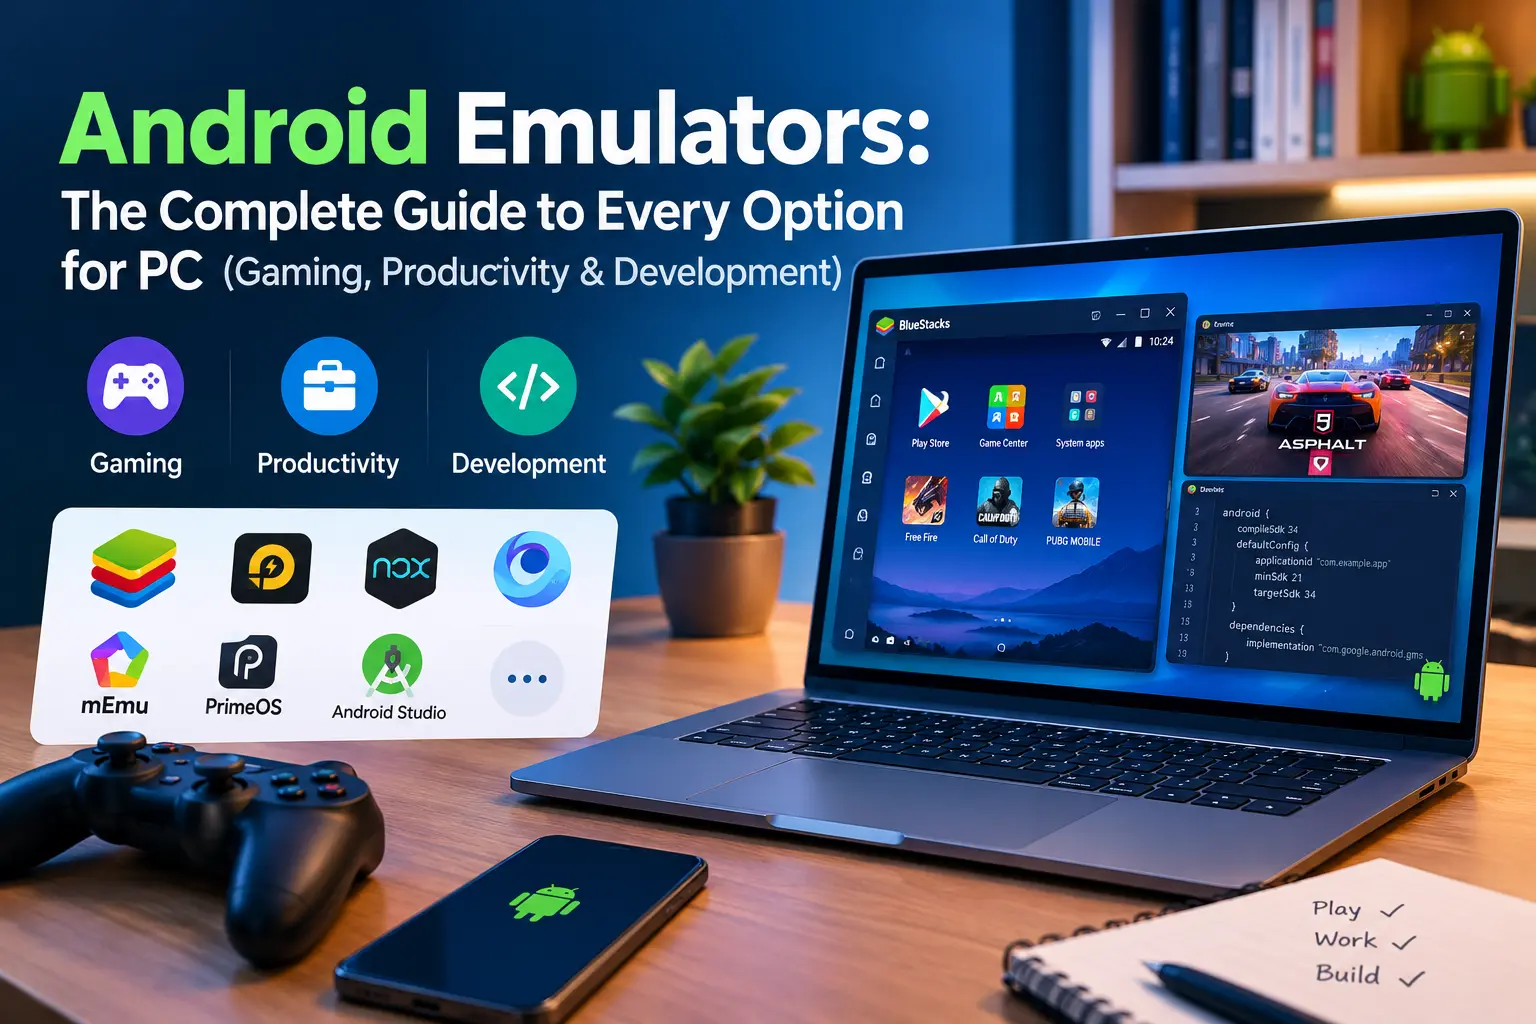
It's popular mainly among mobile gamers who want better controls and performance for games like PUBG Mobile, Free Fire, or Genshin Impact, but it's also used by developers testing Android builds and by anyone who just prefers managing apps from a desktop. You can get a fuller picture of what it offers and how it compares to running Android natively on our BlueStacks emulator page, which covers its features in more depth.
What You'll Need Before Installing
BlueStacks isn't especially demanding by today's standards, but it does need virtualization support to run smoothly — this is the same technology that lets your CPU run a virtual machine efficiently, and most PCs from the last several years have it, though it's sometimes switched off by default in the BIOS.
Here's what to check before you install:
- Operating system: Windows 7 or later (Windows 10 and 11 give the smoothest experience)
- RAM: 4 GB minimum, though 8 GB or more is what you actually want if you're planning to game rather than just test the occasional app
- Storage: At least 5 GB of free disk space for the installation itself, with more needed once you start installing games
- Graphics: A dedicated GPU isn't required, but it makes a noticeable difference in anything graphics-heavy
- Virtualization Technology (VT): This needs to be enabled in your BIOS/UEFI settings — if BlueStacks runs unusually slowly or won't start at all after installation, this is almost always the reason
If you're not sure whether virtualization is turned on, you can check it in Windows Task Manager under the Performance tab — it's listed directly under CPU usage.
How to Download and Install BlueStacks on Windows
The installation itself is straightforward, but a few steps are easy to rush past and cause problems later. Here's the process from start to finish:
1. Download the installer. Head to our BlueStacks download page to get the current installer for Windows. Avoid downloading BlueStacks from anywhere other than a trusted source — emulator installers are a common target for bundled adware.
2. Run the installer and choose your install location. Double-click the downloaded file and follow the setup wizard. By default, it installs to your main drive, but if you're low on space there or you have a faster secondary SSD, you can change the destination folder during setup — worth doing now rather than reinstalling later.
3. Let the initial setup finish. The first launch takes a few minutes longer than normal as BlueStacks configures the virtual Android environment. This is normal — resist the urge to force-close it if it looks like it's stalled for a minute or two.
4. Sign in with your Google account. This is what gives you access to the Play Store inside BlueStacks. You can use an existing Google account or create a new one if you'd rather keep it separate from your phone.
5. Adjust performance settings before you start gaming. In the BlueStacks settings panel, you can allocate how much RAM and how many CPU cores the emulator gets. If your PC has the headroom, bumping these up from the default noticeably improves performance in demanding games.
6. Install your first app. Open the Play Store inside BlueStacks and search for whatever you want to run — the process is identical to installing an app on a phone.
Common Installation Issues (and How to Fix Them)
A handful of problems come up often enough that they're worth addressing directly rather than leaving you to search separately for each one.
BlueStacks won't open, or closes immediately after launching. This is almost always a virtualization issue. Restart your PC, enter the BIOS (usually by pressing Delete, F2, or F10 during boot — it varies by manufacturer), and look for a setting called Intel VT-x, AMD-V, or SVM Mode. Enable it, save, and reboot.
The emulator runs but feels sluggish. Check how much RAM and how many CPU cores are allocated in BlueStacks' settings — if it's still on the default low allocation, increasing it usually solves this immediately. Closing other heavy applications while gaming helps too.
Games install but crash or freeze. This is often a graphics driver problem rather than a BlueStacks problem. Updating your GPU drivers to the latest version from Intel, NVIDIA, or AMD directly (not through Windows Update) resolves most of these cases.
Google Play Store won't sign in. This usually clears up after a restart of the emulator, and occasionally a full PC restart. If it persists, reinstalling BlueStacks while keeping your existing app data is the next step.
Is BlueStacks Worth Using?
For most people who want to play Android games on a PC without fuss, yes. It's actively maintained, the interface is approachable even if you've never used an emulator before, and the performance tools (key mapping, multi-instance for running several apps at once, macro recording) go well beyond what you get from just mirroring your phone's screen.
If you run into a specific issue that isn't covered above, or you want the most current installer, the BlueStacks download page is kept up to date with the latest stable release.

![Best Android Emulator for Low-End PCs [2025]](/storage/blog/images/best-android-emulator-for-low-end-pcs-2025-1_SsFbyyId.webp)